Ivms 4200 Client Default Password
Packard Bell Master Restore Diskettes. Copy the web page that indicated which file goes exactly with which master CD's.' Them weren't available for download. Option 1: Update drivers automatically. The Driver Update Utility for Packard Bell devices is intelligent software which automatically recognizes your computer’s operating system and CD / DVD model and finds the most up-to-date drivers for it. Create a Packard Bell recovery and master CD by burning the contents of the hidden tattoo partition into a CD. Assembler Packard Bell has established a protection system to prevent re-use of OS and driver software on other systems by a hidden tattoo partition on the hard drive that contains a copy. 
Once you have Hikvision’s iVMS-4200 Client, you can open iVMS-4200 and use the Device Management screen found in the Device Management tab (shown below) and to add, configure new and existing devices, as well as remove devices. Adding a new Device To add a new device, click on the Add [button] located under Device for Management heading or: • If you are adding a device that is on your local network, you should see it listed at the bottom under Online Device (1) — if you do, just click on it then click Add + under Online Device (1) • If you are adding a device that is on the internet, you should click Add + under Device for Management (0) near the top middle area of your screen Add (screen) The screen once open, will default to an Adding Mode of IP/Domain. The most commonly used modes encountered here are IP/Domain and Cloud P2P.
IP/Domain (screen settings) Nickname: Enter a Nickname for this location’s device. This nickname is used to identify your system/location in the iVMS-4200 client. Example: Home or Office or JWG Warehouse Building 1, etc.
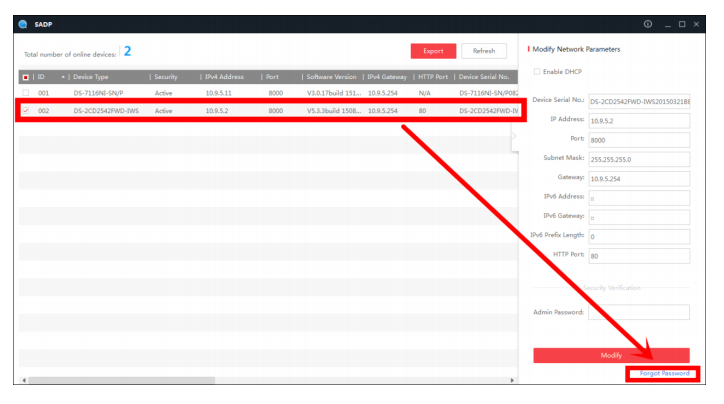
The default screen of the iVMS-4200 program is “Device Management”. Device Management is used to add, remove, modify and provide remote access to a Hikvision device. Note: The default admin password of the device is 12345, and the security code is returned after you send the data and serial No. Of the device to the manufacturer. For details of other device adding methods, please refer to the User Manual of iVMS-4200. Click Next to continue.
Address: Enter the IP address or Dynamic DNS name for the device. If your system was installed by CLEAR IT SECURITY, this information would have been emailed to you. Please contact us if you cannot find it.
Port: 8000 (unless your installer used a custom port) User Name: This is the username assigned to you by CLEAR IT SECURITY or the system’s default username/password information. This name may be admin or a different name if setup by CLEAR IT SECURITY. Password: This is the password used on or setup on the Hikvision system. This password would have been setup by CLEAR IT SECURITY. [ ] Synchronize Device Time – Leave this box UN-checked!

[X] Export to Group – Leave this box checked! Once all fields have been entered and confirmed correct, click the Add button.
Once it is added, click Next button. Zhivie oboi na rabochij stol windows 7 vesna. Click Finish when complete. Your system has now been added!
Check out our Cloud P2P Domain (Hik-Connect device / settings screen) Newer CITS Hik devices can now use a Hikvision cloud-based P2P method for connecting and viewing cameras remotely over double-NATTed or fire-walled configurations without IT assistance or a static IP address! To add a Hik-Connect or Cloud P2P device, you must: • Click on Add New Device Type [button] listed under Device Type in the Device Management screen. • Place a check mark next to Cloud P2P Device and click OK. • Click on Cloud P2P Device now listed under Device Type in the Device Management screen. • Click the Login [button] shown and enter your Hik-Connect user information and click Login or if you do not have an account, click on Register and fill out the information requested. Once added, come back to this screen and add the devices to iVMS-4200 by placing a check mark next to the device(s) and click the Add [button]. If you do not perform these steps you will be presented with the message: “ Please log in to the Cloud 2P2 account first before using this function.” as shown in the image above.